Introduction
Apple Wallet, formerly known as Passbook, is a versatile tool that empowers users to organize and manage an array of digital passes, including boarding passes, event tickets, coupons, and loyalty cards. For GoLang developers looking to seamlessly integrate Apple Wallet into their applications, this blog post serves as a comprehensive guide. We’ll walk you through the process of implementing Apple Wallet in GoLang, ensuring a smooth and efficient integration.
Prerequisites
Before diving into the implementation, make sure you have the following prerequisites in place:
- GoLang Installed: Ensure that GoLang is installed on your development machine. If not, you can download it from the official website.
- Apple Developer Account: Obtain an Apple Developer account to generate and manage passes. You can create one on the Apple Developer website.
- Certificates and Identifiers: Create a Pass Type ID and acquire a signing certificate from your Apple Developer account.
- PassKit Package: To work with Apple Wallet, you’ll need a GoLang package that supports PassKit. A popular choice is github.com/alvinbaena/passkit.
With these prerequisites in place, let’s proceed to the implementation.
Step 1: Set Up Your GoLang Environment
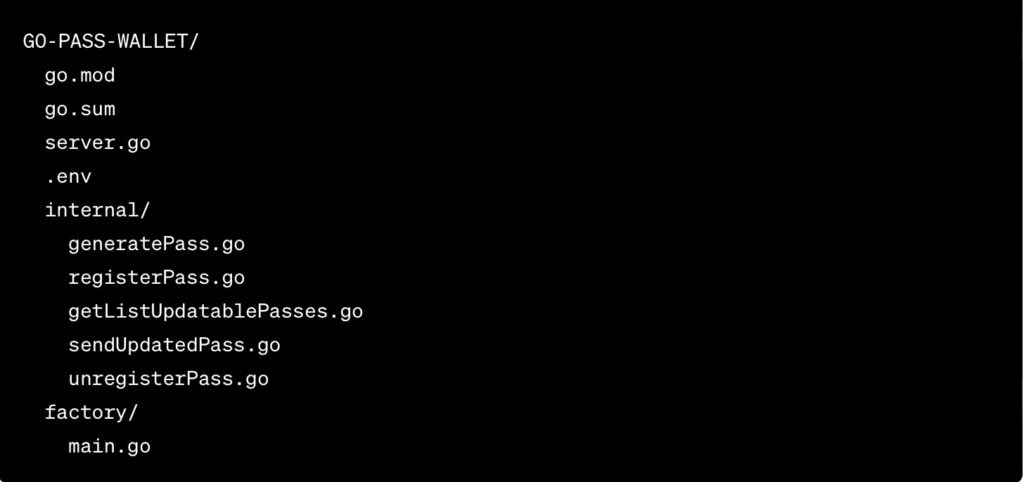
Create a new GoLang project or navigate to your existing project directory with the following structure:
Step 2: Install the PassKit Package
Use Go modules to import the PassKit package into your project:

Step 3: Create Pass Certificate Files
Generate a pass certificate and a private key from your Apple Developer account. Once obtained (.p12 and .pem files), you can proceed.
Step 4: Generate the Pass
Implement a route in the server.go file to generate and download the pass:

In the internal directory, create a function called GeneratePass to create and download the pass template on the client side.
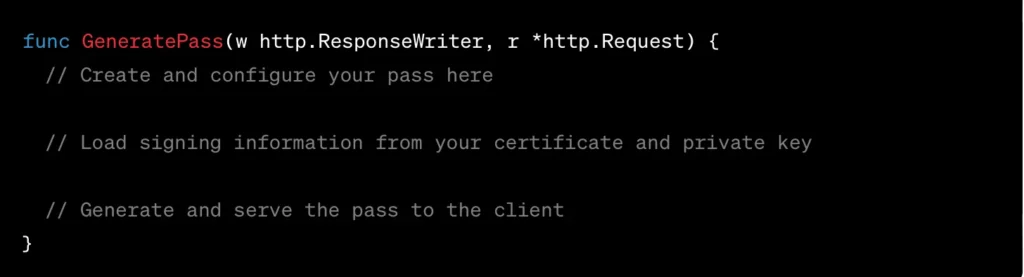
Replace placeholders like “yourSigningCertificate.p12”, “yourPrivateKey.cer”, “password”, “icon.png”, and “logo.png” in the code.
Step 5: Distribute Your Pass
With the pass generated, you can distribute it to users via email, web, or a dedicated app. Users can add passes to their Apple Wallet by clicking on a link or opening the file on their iOS device.
Step 6: Register a Pass for Update Notifications
Handle the request from Apple Wallet when a user adds passes. Create a route in server.go:

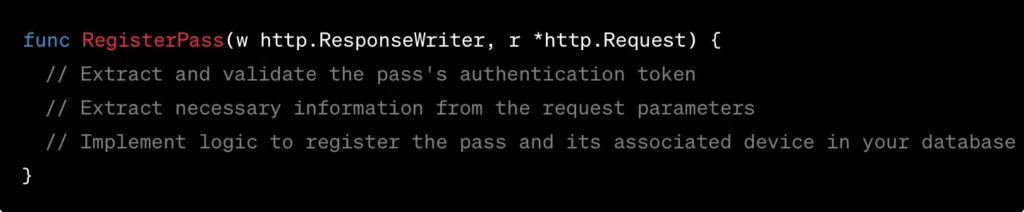
Implement a RegisterPass function in the internal directory to add the pass and its associated device to your database.
By following these steps, you can efficiently implement Apple Wallet functionality in your GoLang application. The full source code repository for reference can be found at Go-Pass-Wallet.
Conclusion
Integrating Apple Wallet into your GoLang application enhances the user experience by providing a seamless and convenient way to manage digital passes. While this example is simplified for demonstration purposes, in a real-world scenario, ensure error handling, secure storage of certificate files, and customize your pass template to suit your specific use case.


 (1)")