The moment was really exciting when Apple announced Xcode Cloud to help automating the build distribution process. Finally, there is no need to explore the various CI/CD platforms.
Working with Xcode is already exciting and Xcode cloud is available, so now it’s even more so. Xcode cloud was once restricted to beta users, but now accessible to anyone and everyone.

Requirements
Although you have been using Xcode with excellent configurations, there are still certain requirements that you must meet in order to use this feature.
MacOS: macOS Monterey 12 and later
Xcode: version: 13.4.1 and later
Source Control: Xcode cloud support BitBucket, Github and GitLab
Enrollement: Must be enrolled in the Apple Developer Program
If you are already sharing your builds via Xcode then it’s great, but if not then please go for the enrolment. Once you are good you will need to add your
apple id in Xcode, you can follow Add your Apple ID account.
Also have register your app on App Store Connect.
Alright, I hope you got everything. From now on we are going to proceed forward in a series of steps. So lets go…
🏃🏻♂️🏃🏻♂️🏃🏻♂️
Build Scripts 📝
- Post-clone script: The post-clone script runs after Xcode Cloud clones your Git repository. You might use a post-clone script to install an additional tool, or to add a new entry to a property list. create ci_post_clone.sh file under the script folder you just created to integrate your scripts.
- pre-xcodebuild script: The pre-xcodebuild script runs before Xcode Cloud runs the xcodebuild command. You might use a pre-xcodebuild script to compile additional dependencies. For this you will need to create ci_pre_xcodebuild.sh file under the same directory.
- Post-xcodebuild script: The post-xcodebuild script runs after Xcode Cloud runs the xcodebuild command — even if the xcodebuild command fails. You might use a post-xcodebuild script to upload artifacts to storage or another service. And for this you will need to create ci_post_xcodebuild.sh file.
ci_scripts folder under the project directory where your .xcodeproject and .xcodeworkspace files are available. Creating at the wrong directory will make your scripts unexecutable. How to create the shell script?
If you are having trouble creating a shell script file. Simply follow this:
Xcode Project navigator -> file -> new file-> Shell
select Shell script template and name according to the script you want to create from above. We don’t need this file to be there in target, so create without selecting the target in the pop up window.
Now make your script file executable by running command +x $filename.sh.in the terminal.
At last in the script section add your code including the shebang like #!/bin/sh — and push this file to your git repository.
If you are still having some doubts about the file and the code, here is what I followed while seting up for the react native project:
Basically I just used the ci_post_clone.sh so I can configure my project after the cloning process is done.
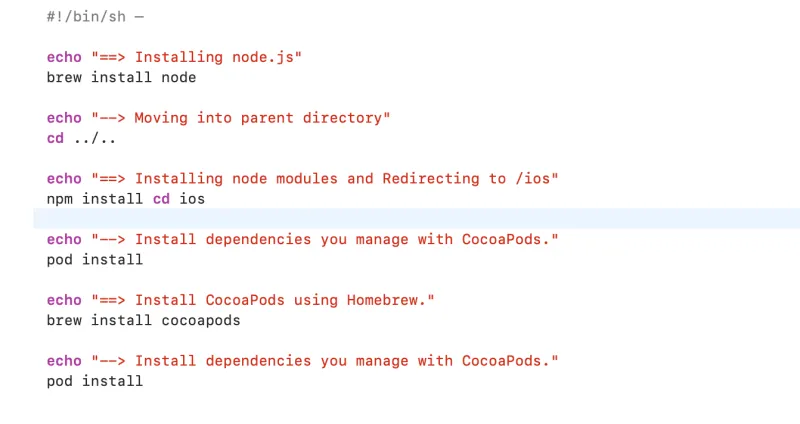
All of my requirements for the react-native project are met by these particular steps. You can skip the node portion if you’re using pod just with iOS. You can also add your own configuration here or use another script file if you’re looking to do additional things on different levels.
Workflow
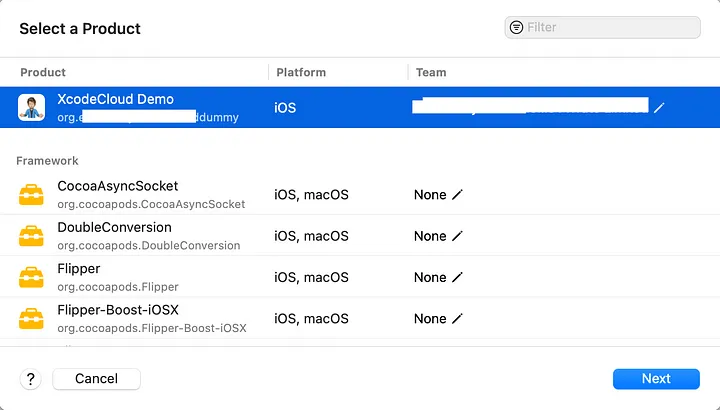
Select the team under your product. If you already chosen it in the project editor, it will be present there by default.
Now just click next button and you will be driven to the next page to configure the workflow.
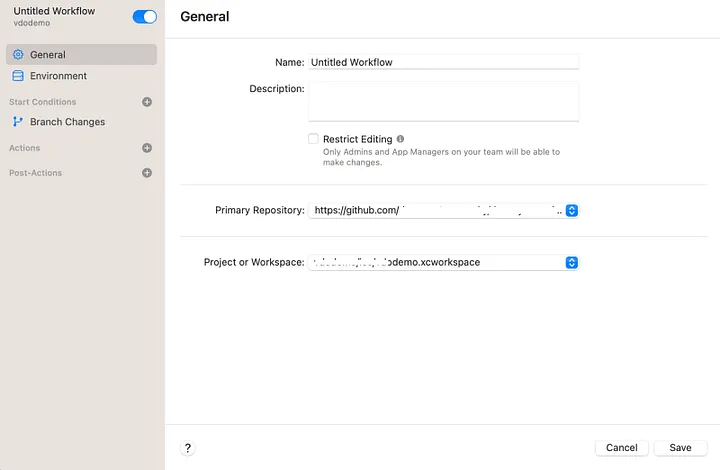
Name your workflow and start the configurations. Under general tab there aren’t much things required. If you already have a repository you can link it other-wise Xcode will suggest to create the repository.
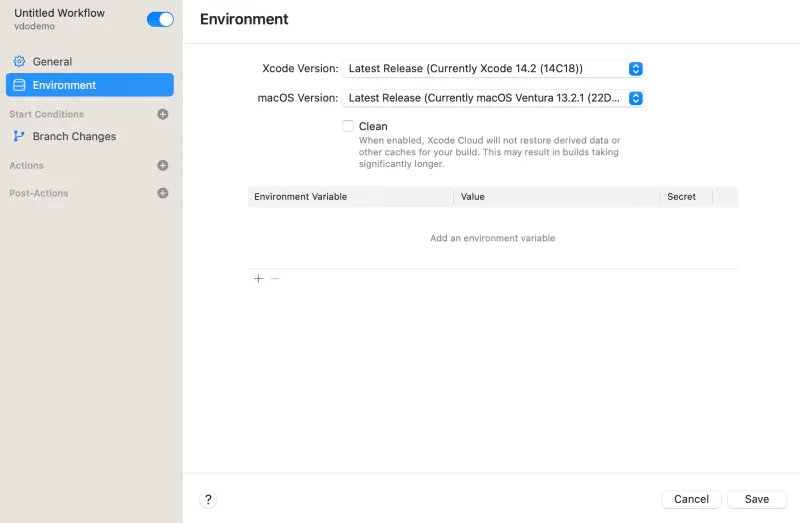
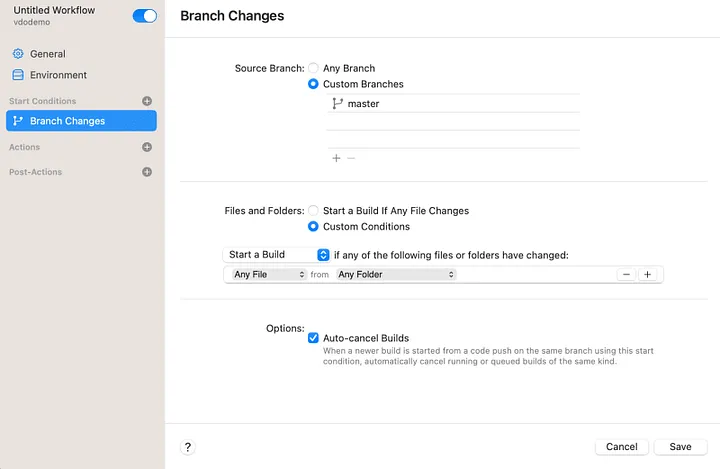
You can perform your modifications and set up all the requirements you want to include for the branches under the branch changes. The titles there make everything clear for you to make adjustments. You can have look here as well how things are written very clearly in the dialog:

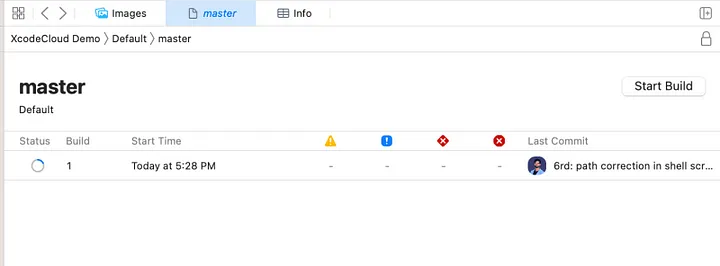
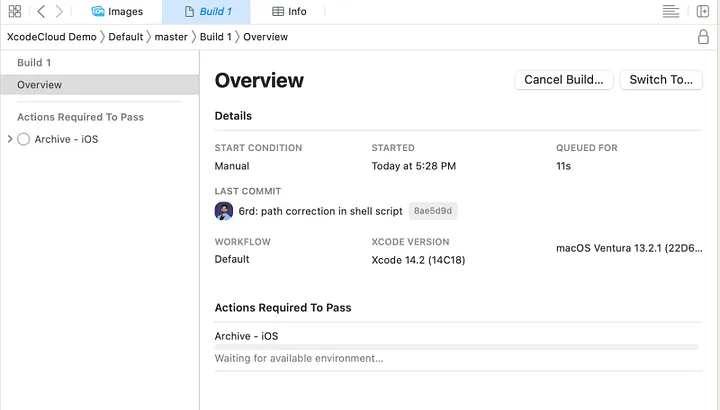
Under the individual build you can find the detailed log incase you any error occurs. The following official links can also help you with troubleshooting:
Resolving common configuration and build issues
Resolve GitHub Enterprise connection issues
You are here, means you are interested or you must have started the CI/CD with Xcode Cloud, so when the process finishes, please write down your Xcode Cloud experience and problems you encountered.
Thanks and welcome 😃
By Rahul Kumawat
iOS & React Enthusiast.